
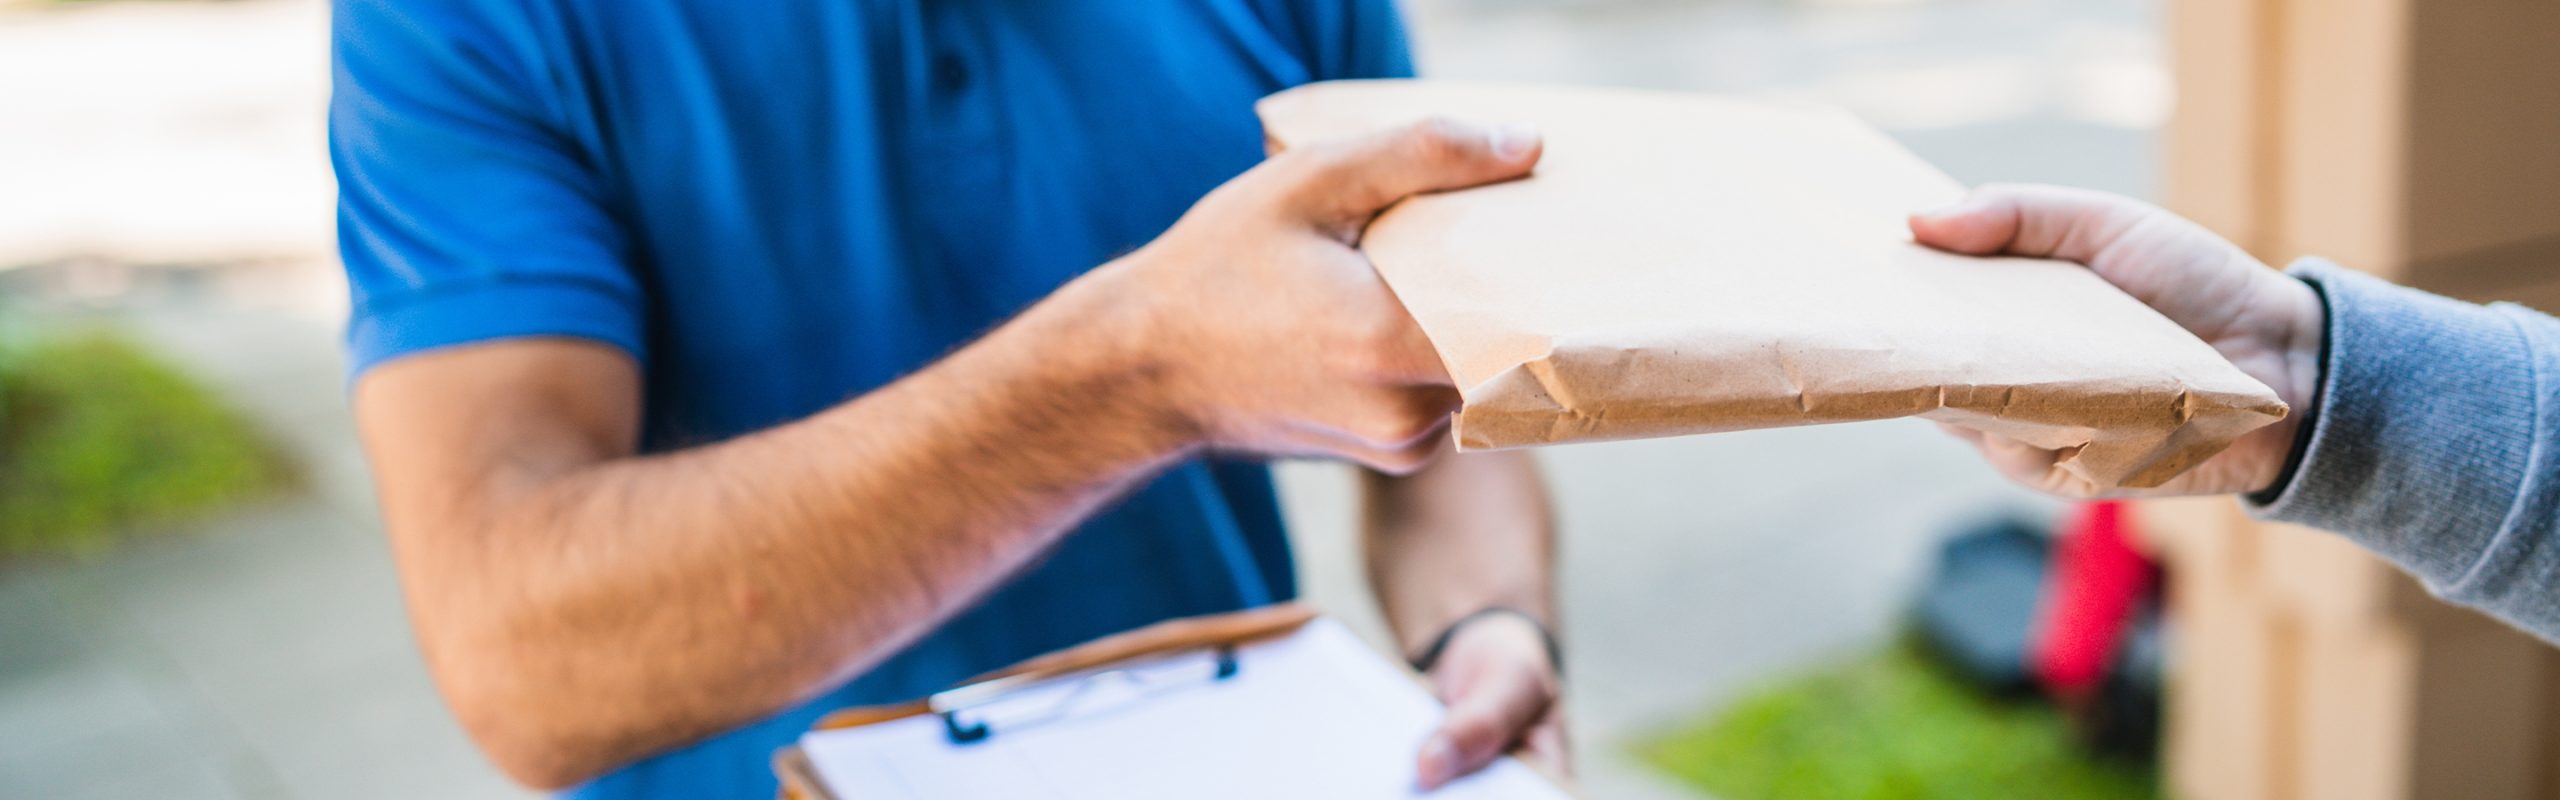
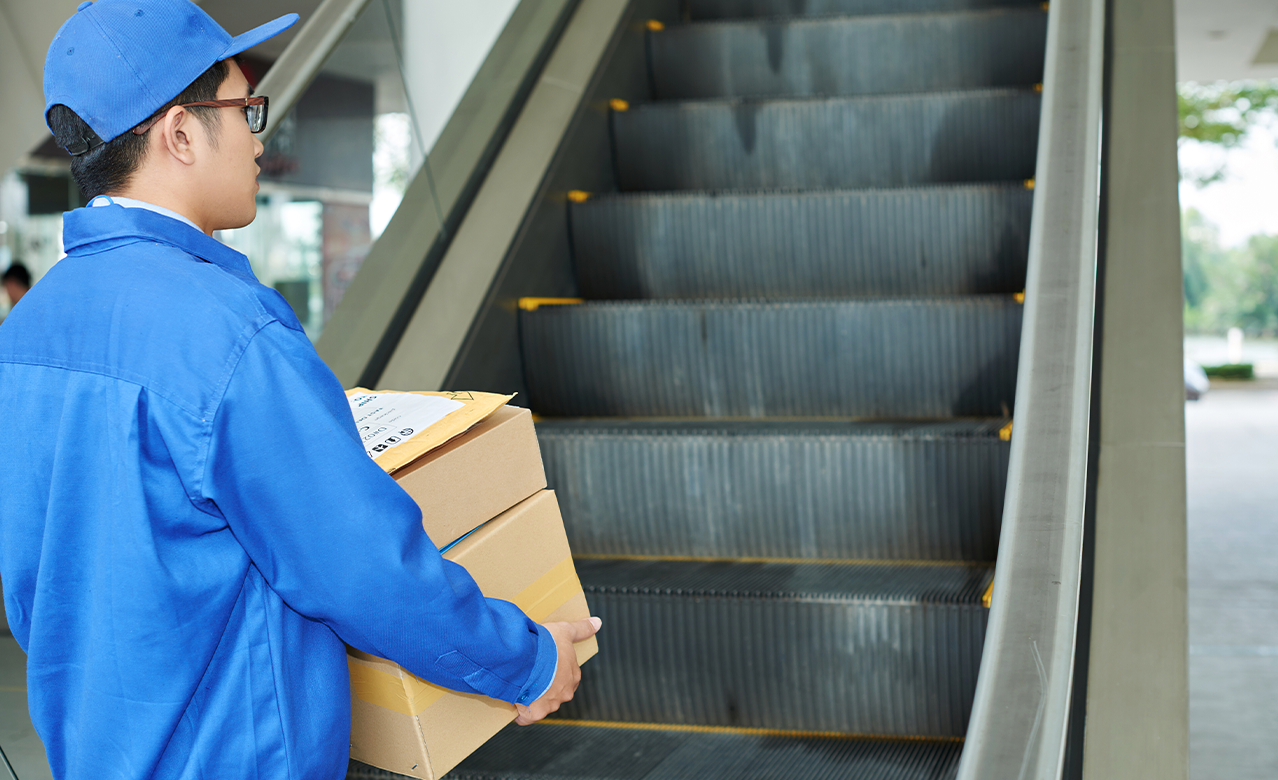
Shipment requires labels.They include the destination, return, tracking, and special handling instructions.Shipping labels help carriers identify packages immediately, as well as their destinations, guaranteeing timely delivery.
Making a shipping label is easy, but you must follow the steps to avoid mistakes and delays.The first thing you need to do is to gather the recipient’s name, address, return address, and any special instructions or delivery options.Once you have this information, you may use shipping label software or pen and paper to make a professional label.
The Shipping label must be legible and accurate.Make sure the recipient’s address is correct and the package is labelled”fragile”or”this end up.”If shipping overseas, include customs papers and necessary paperwork.
Shipping labels are essential.Create a shipping label that assures your shipment reaches on time and in good condition by following the right steps and being accurate.
Step 1: Choose the Right Carrier
Choose a carrier before you create a shipping label.Your carrier will depend on your budget, package weight and size, and destination. USPS, FedEx, and UPS are popular.Compare costs and shipping choices before choosing a carrier.
Step 2: Gather the Necessary Information
After choosing a carrier, gather shipping label information.The recipient’s address, your return address, and the package’s weight and measurements are included.You must also know your shipping option and whether you need insurance or signature confirmation.
Step 3: Choose a Shipping Label Format
PDF, HTML, and paper shipping labels exist.Your carrier and preference determine your format.Some carriers let you print shipping labels, while others have you download and print them.
Step 4: Create the Shipping Label
Create the shipping label after gathering all the data and choosing a format.To make a label using your carrier’s web tool,fill out the form and follow the instructions.Before printing, enter information correctly in downloadable formats.
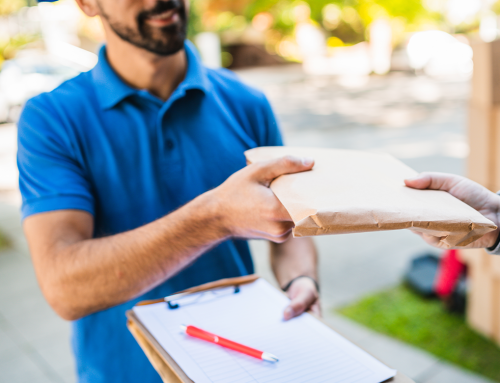
Step 5: Attach the Shipping Label
Attach your package’s shipping label after creating it.Choose a secure label location to avoid damage or loss during delivery.Attach paper labels to packages with transparent tape.
Step 6: Drop off or Schedule a Pickup
Finally, deliver or schedule a pickup for your package.Check the carrier’s website for pickup times, locations, and size/weight limits.Check customs limitations when exporting overseas.
With the correct tools and information, making shipping labels is easy.This blog post will help you deliver packages to the appropriate address and on schedule, building client trust and loyalty.

