After authorizing your E-Commerce shop to the OneShip account, you can click on “Store Management” to set up your store.
This article explains 4 different tools as the basic setting in OneShip.
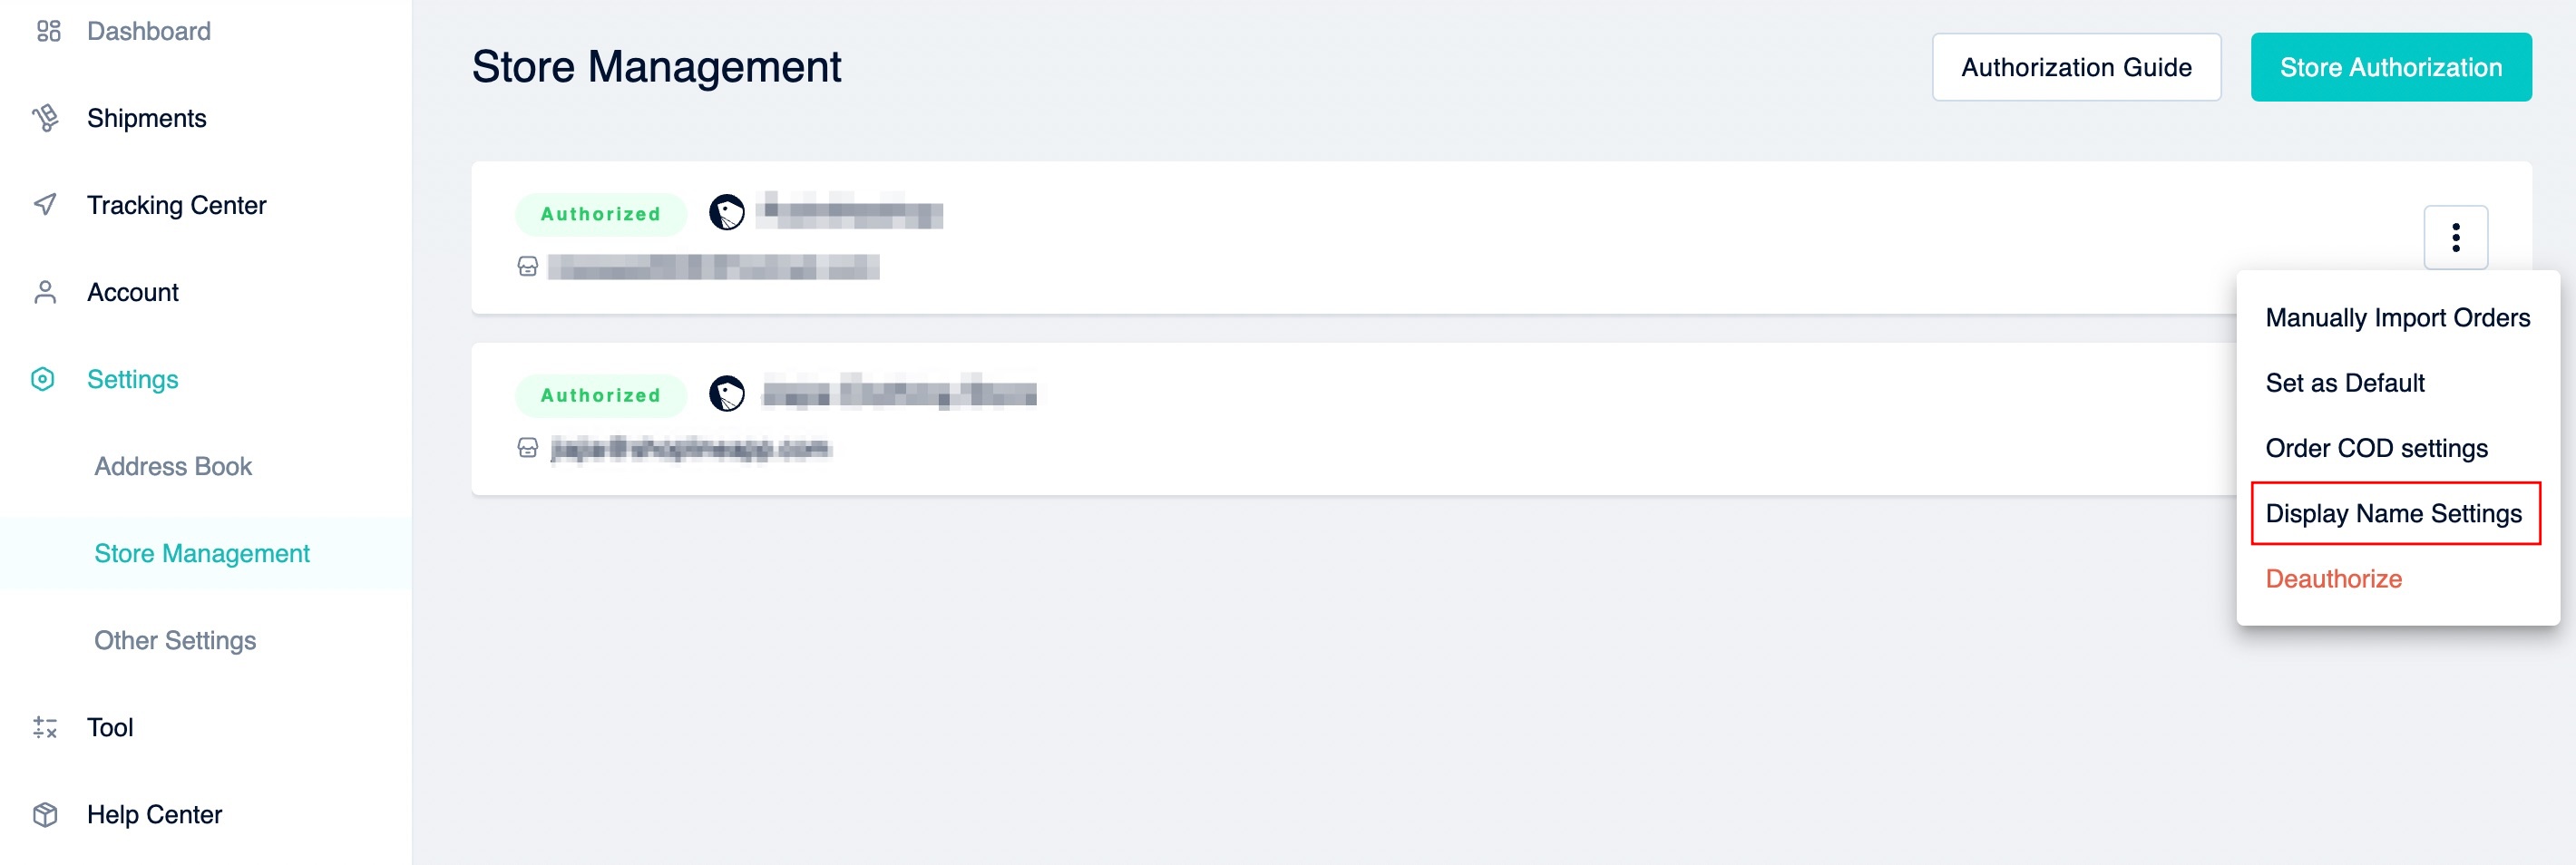
Display Name Settings
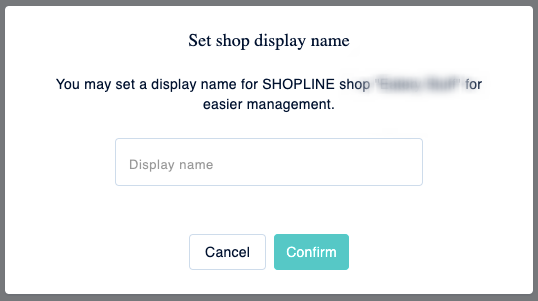
Select the shop and click the 3-dot setting button to enter the shop display name. The display name is only show in OneShip Admin Panel.
*Note: Shop display name cannot be repeated.
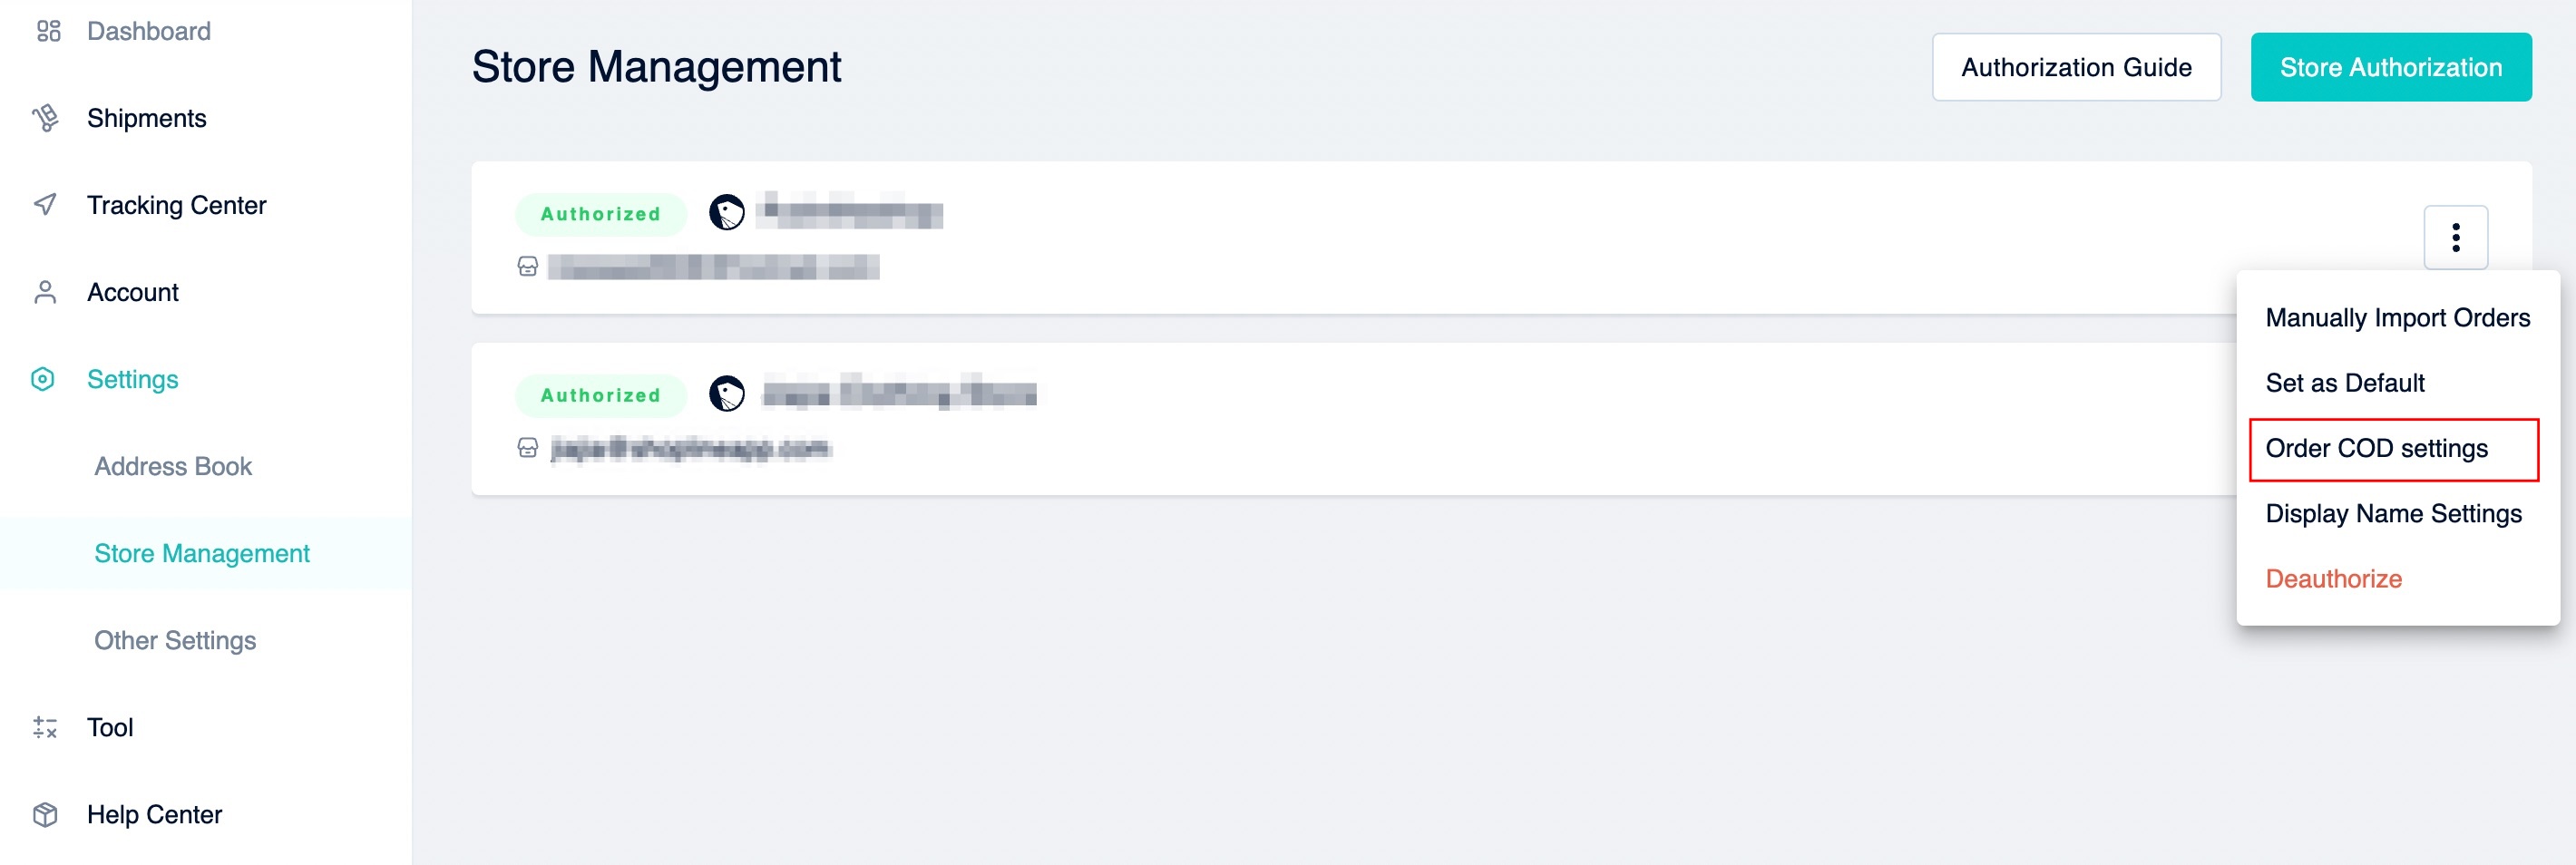
Order COD Settings
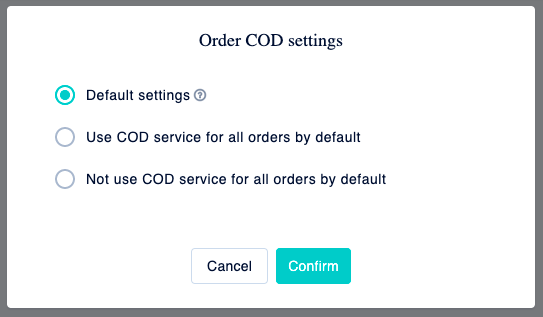
Select the shop and click the 3-dot setting button to set order COD. You can select either to apply COD or Non-COD service to all orders by default.
Also, you can choose “Default setting” and the orders will be regarded as COD / Non-COD based on their payment status. Unpaid order considers as COD, while paid order considers Non-COD.
*Note: Merchants can manually change “Cash on delivery” (Yes/No) before executing shipments. For detailed information please refer to: Precautions for Non-COD shipment execution
Set Default Departure Address
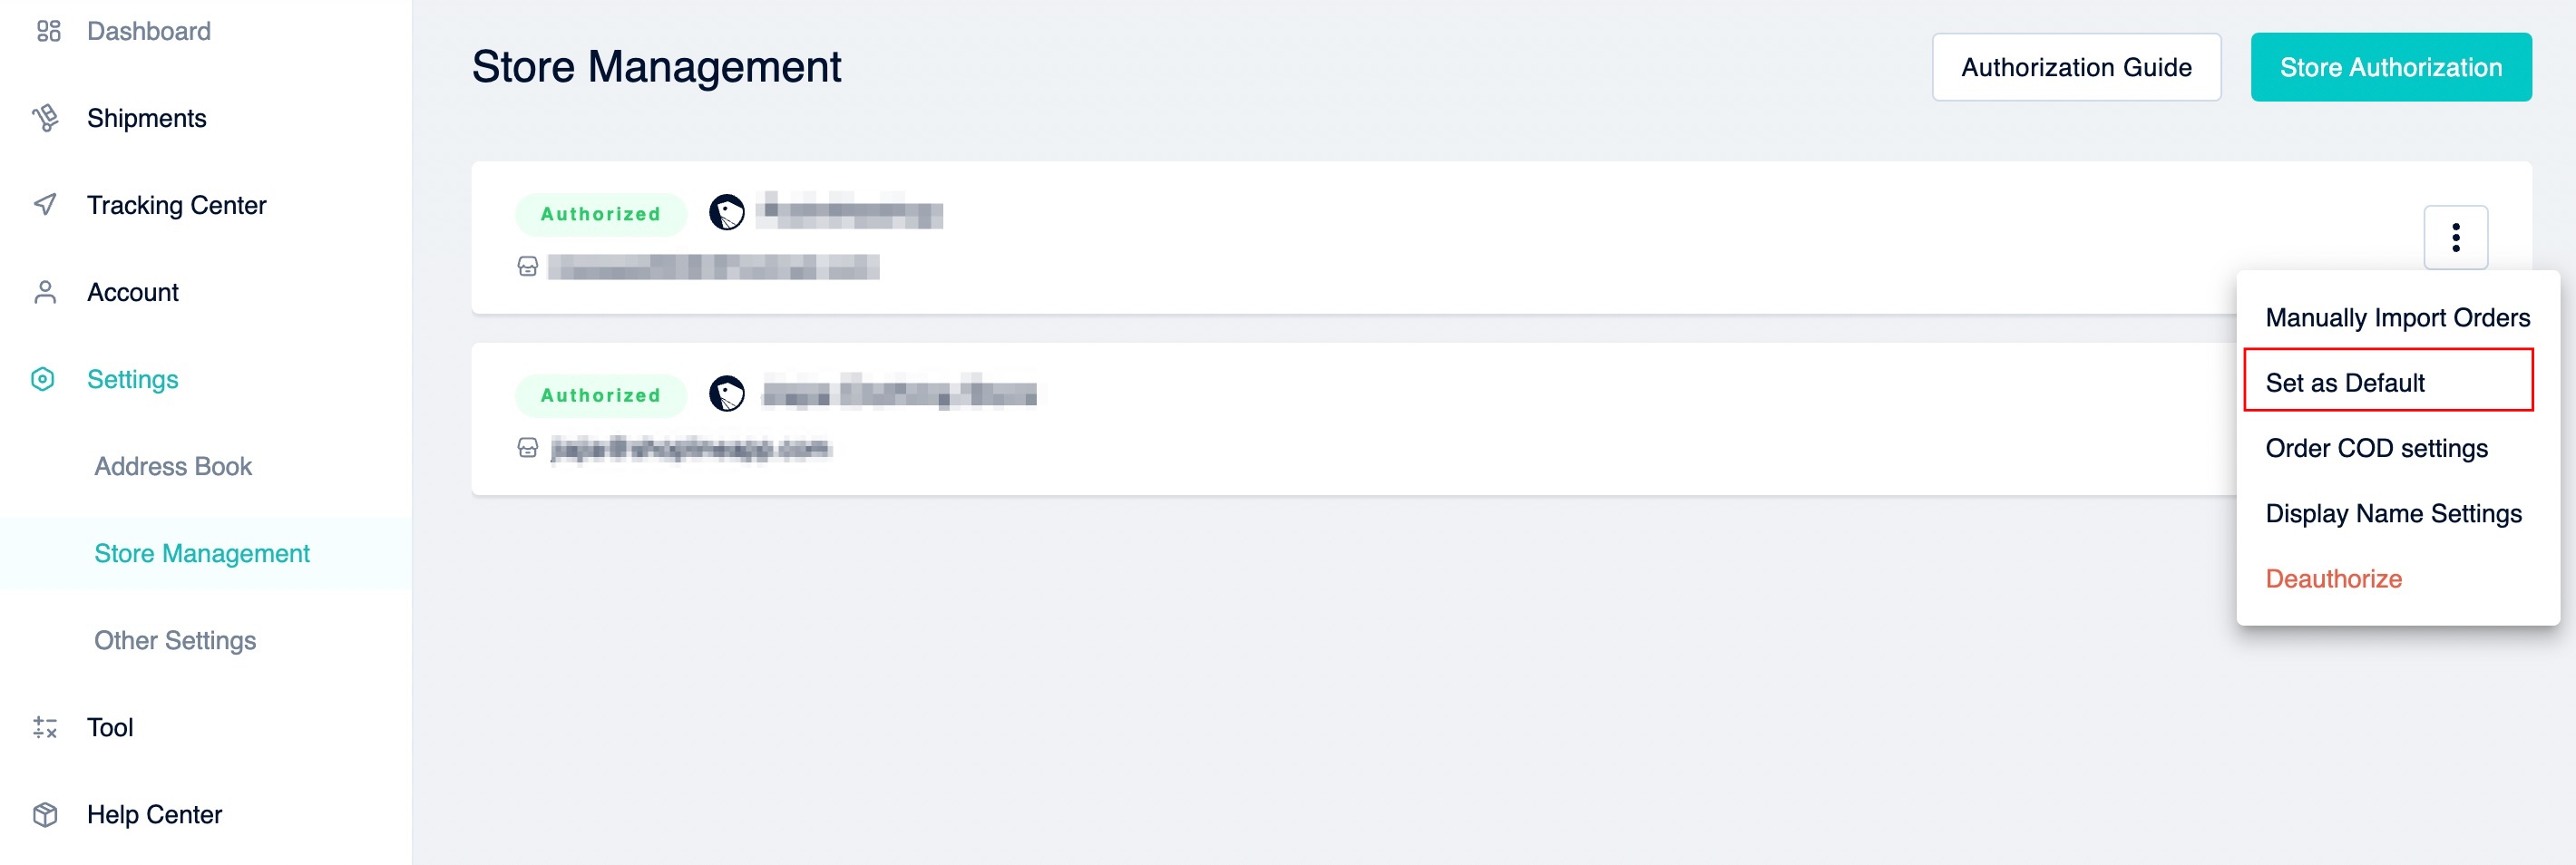
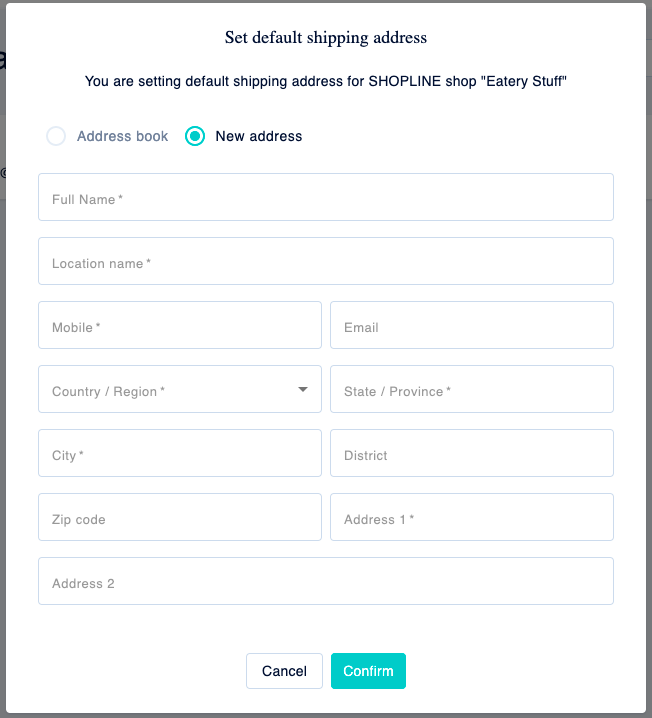
Select the shop and click the 3-dot setting button to set the default departure address for your shop. You can use the address from your Address Book or create a new address.
Manually Import Orders
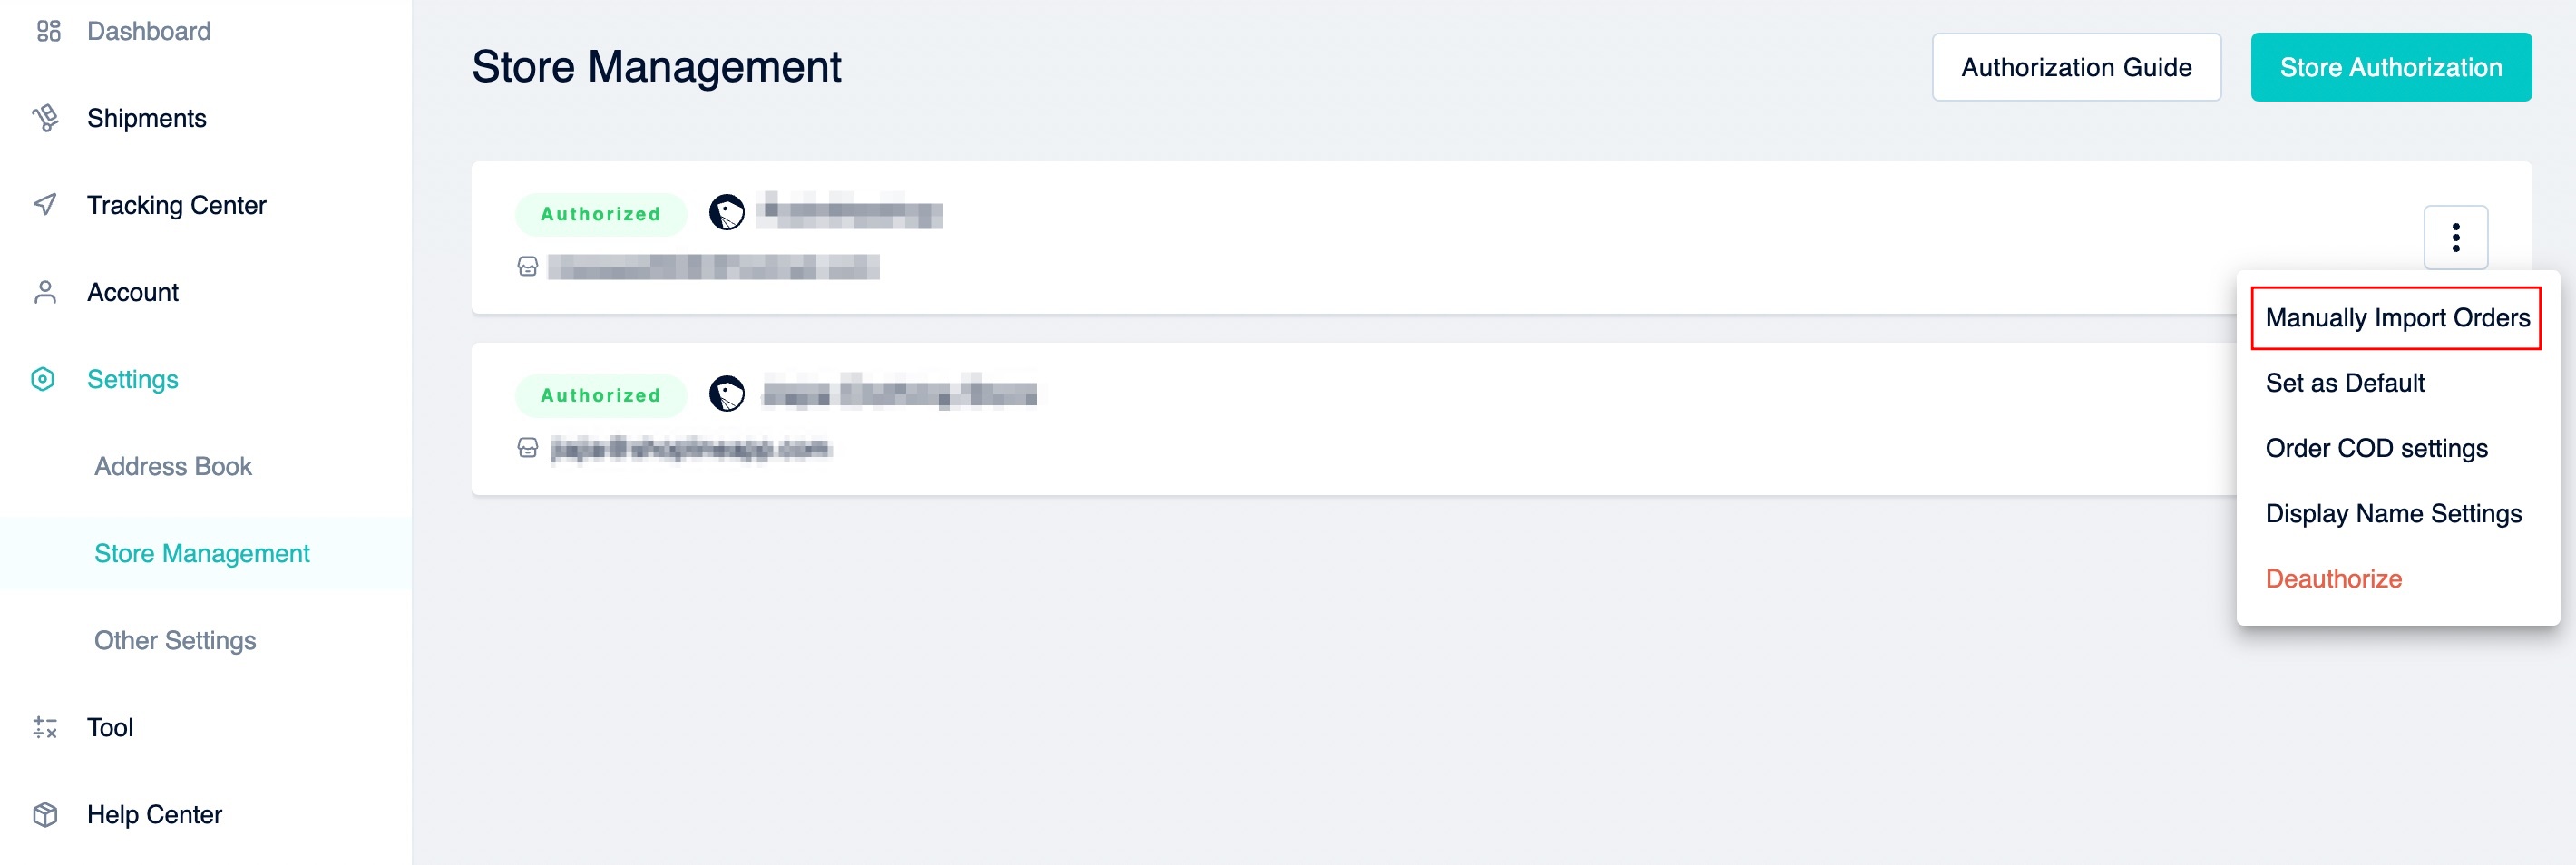
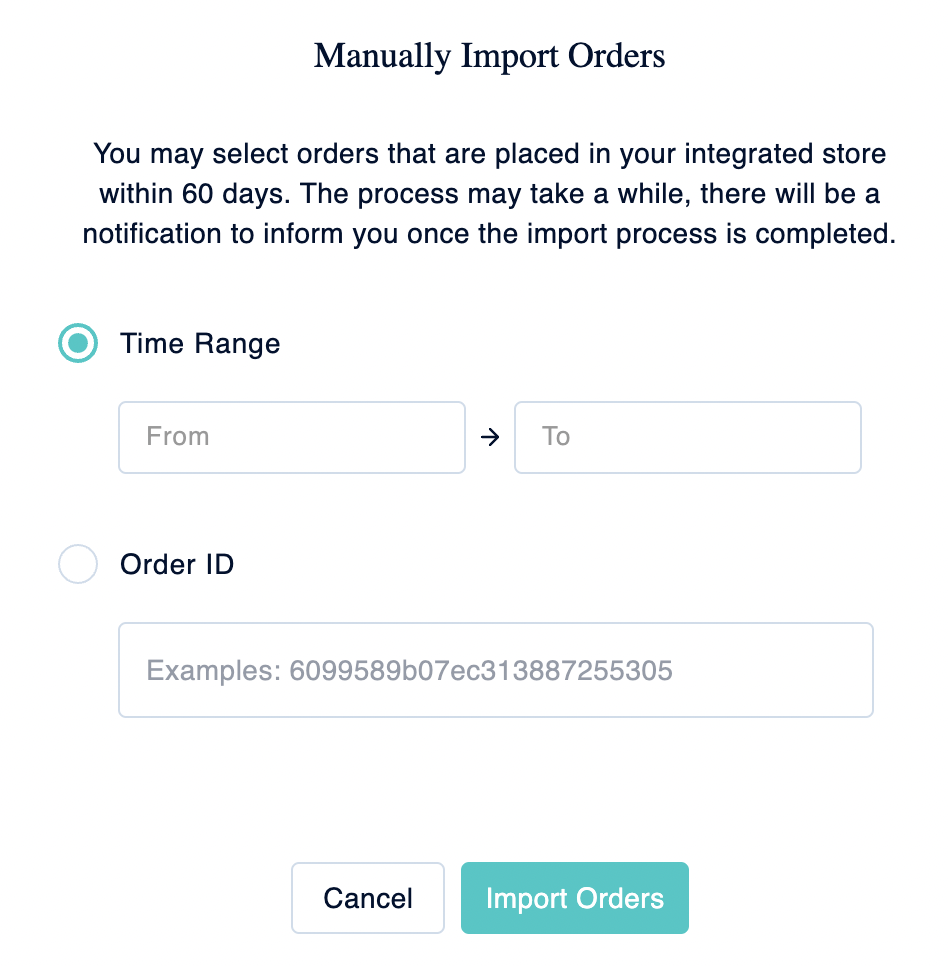
Select the shop and click the 3-dot setting button to import orders manually, you can either enter the time range or the Order No.
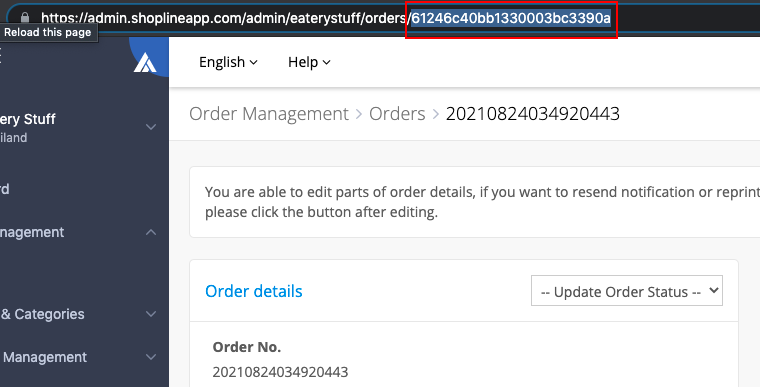
For SHOPLINE merchants:
Please copy and paste the number at the end of the SHOPLINE URL link.
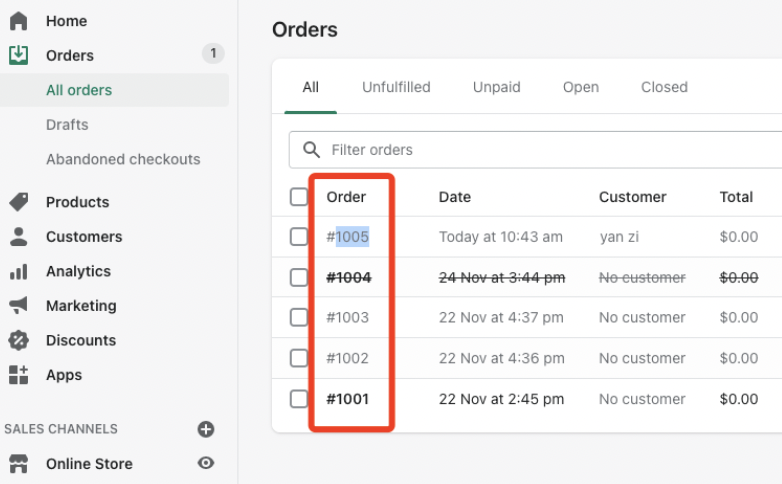
For Shopify merchants:
Please use Shopify 4-digit Order ID such as 1005 (remove #).
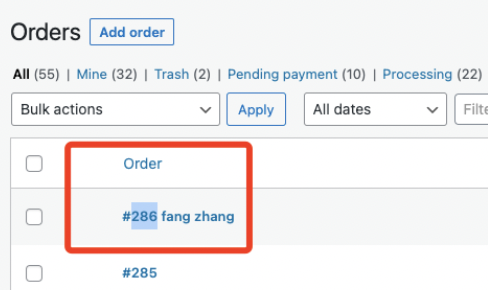
For WooCommerce merchants:
Please use WooCommerce 3-digit Order ID such as 286 (remove #).
*Note: Manually import orders only support importing orders in the past 60 days.
Next step: Step 4. View and edit your order

