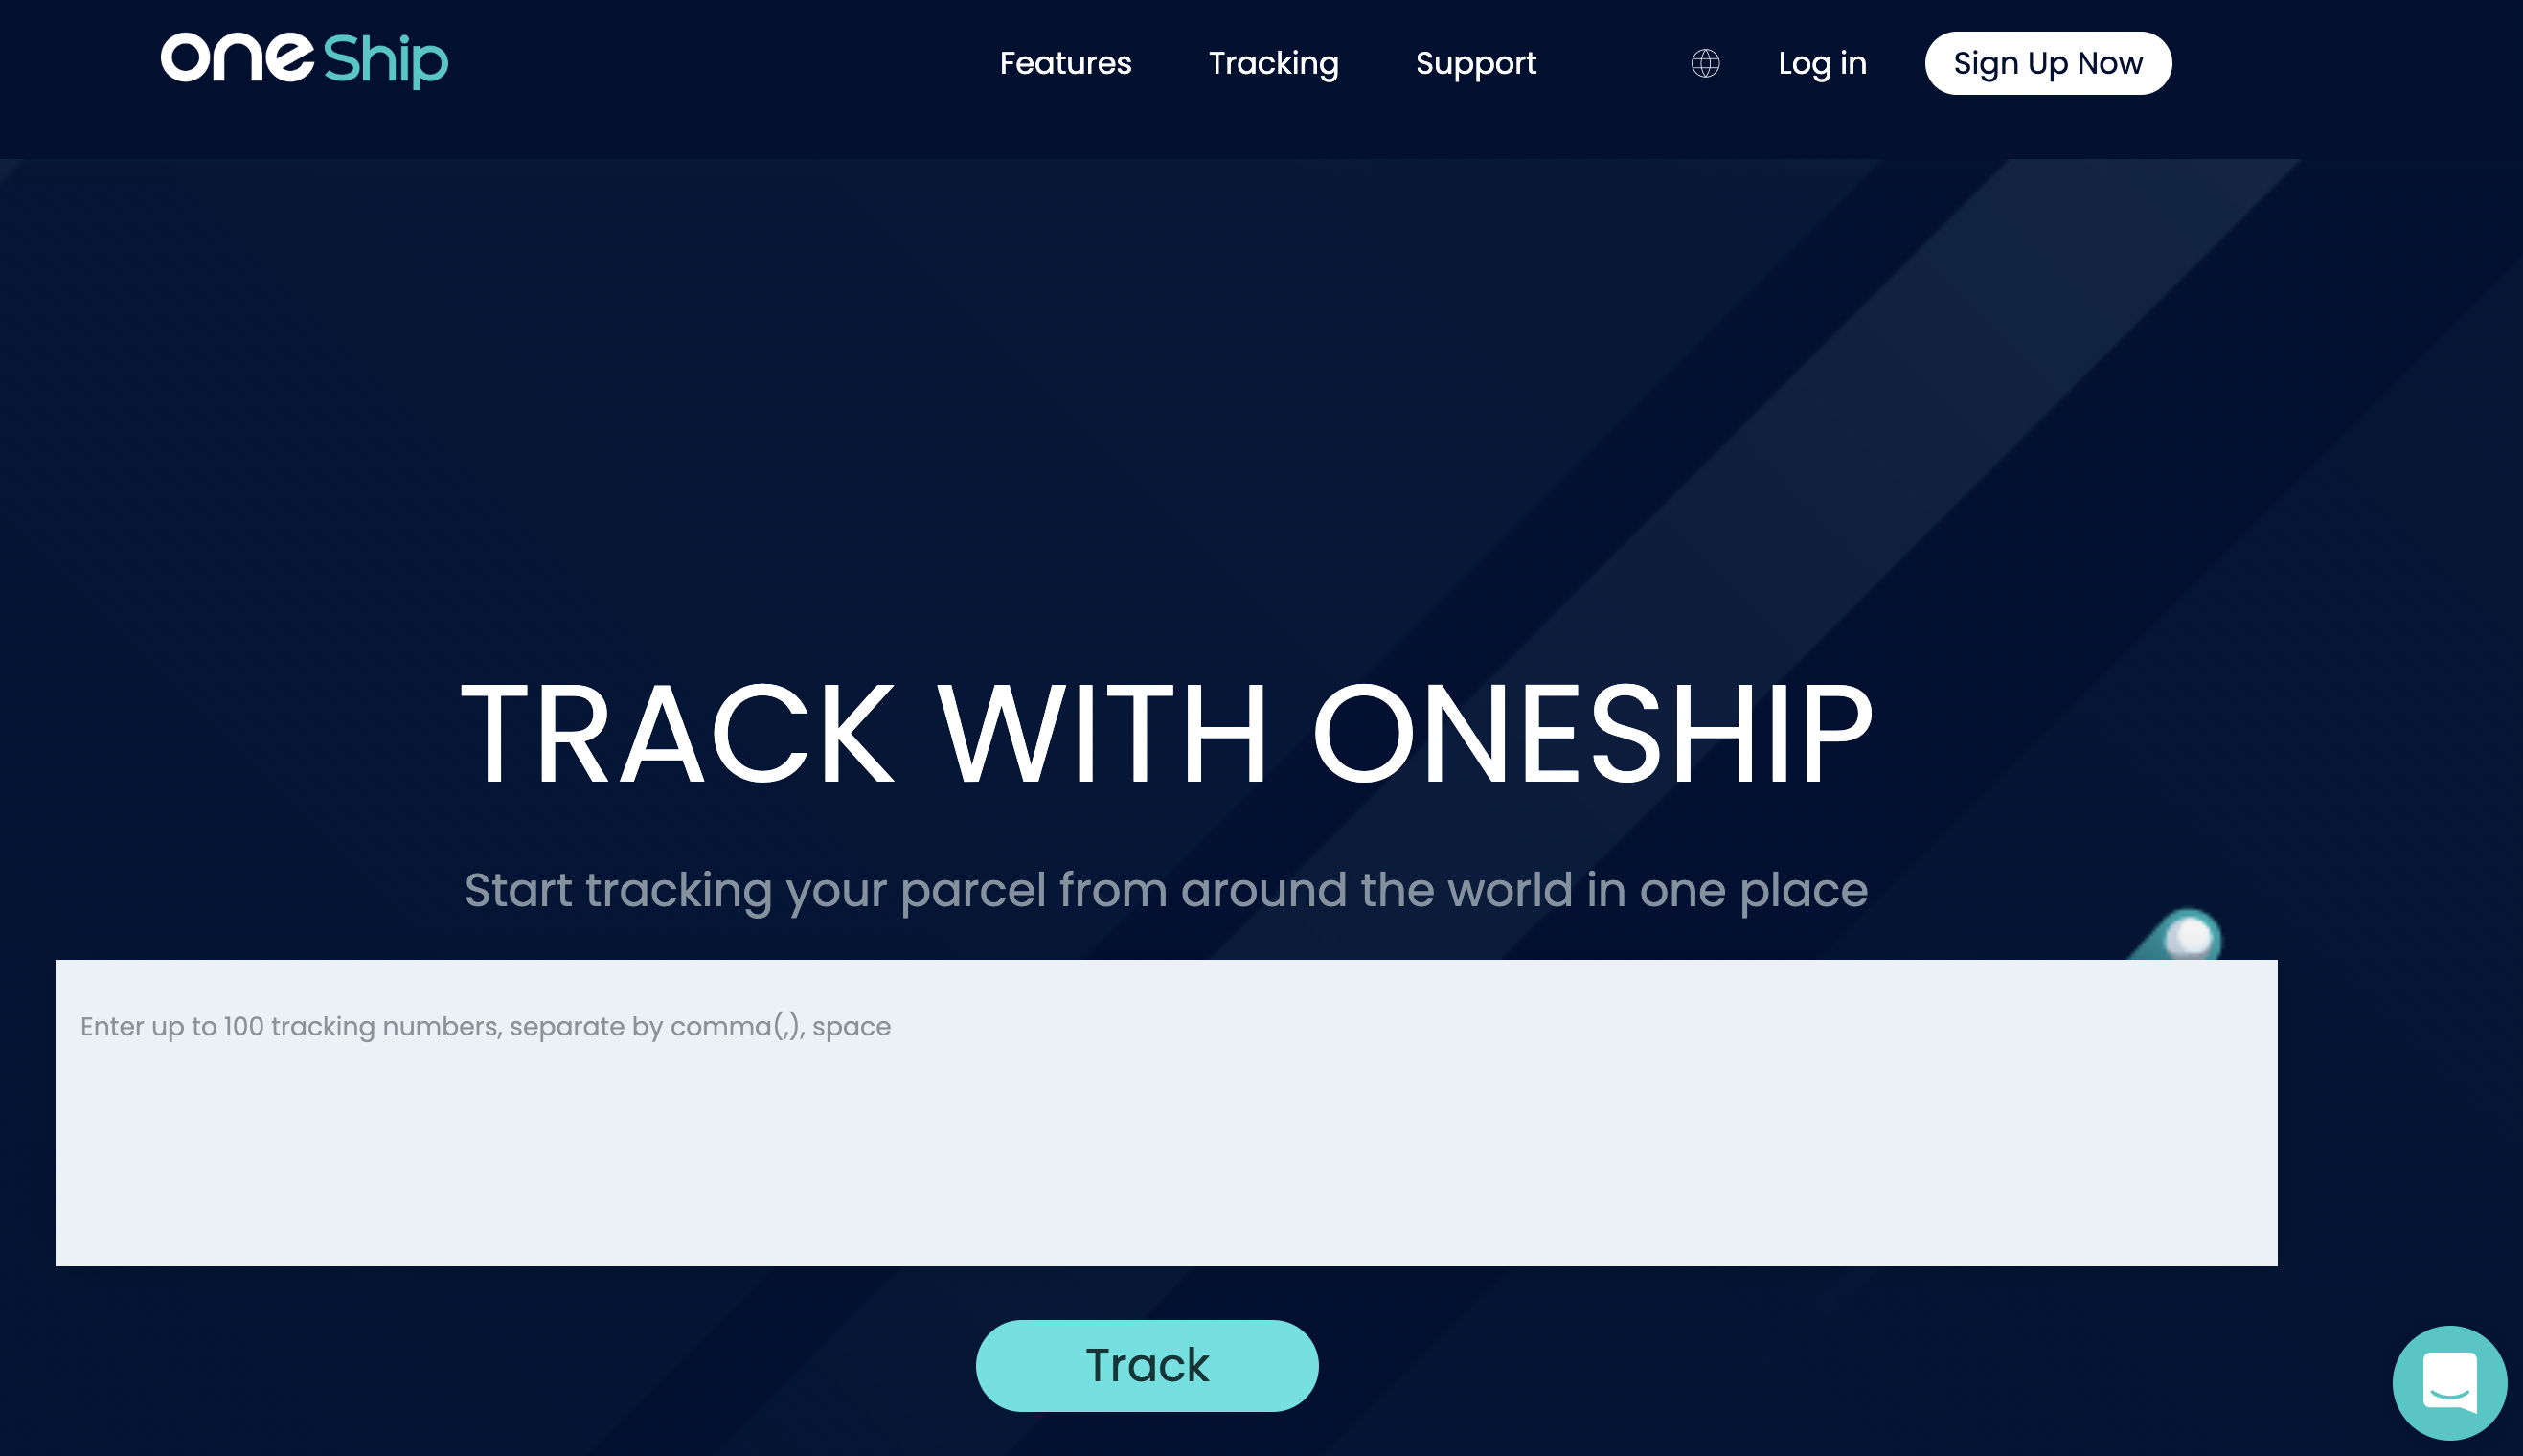
OneShip supports a custom domain name for your store’s tracking page. You can enhance the brand visibility and increase post-purchase engagement with customers by customizing the domain name. This article explains how a custom domain name works and how to set up yours.
In this article, you’ll find
- How does a custom domain name work?
- How to customize the domain name for your OneShip tracking page?
To learn more about the OneShip tracking page, please refer to How to customize Tracking Page
How does a custom domain name work?
A custom domain name helps promote your online shop, build customer credibility, accelerate Search Engine Optimization (SEO), and also enhance brand consistency.
You can create a custom domain name by setting up the preferable URL to display the tracking information.
For example, using http://tracking.yourdomain.com instead of https://xxx.tracking.oneship.io
How to customize the domain name for your OneShip tracking page?
Step 1: Select a domain provider
There are many DNS providers available that can help store owners to register/rent a particular domain. For example, GoDaddy, Domain.com, Bluehost, etc. Shopify also provides a custom domain name to its users by default.
Step 2: Create a CNAME entry
Kindly log in to your DNS provider and create a CNAME. Please generate a hostname or subdomain (For example, tracking.yourdomain.com) and then enter tracking.oneship.vip as the destination URL.
Note: These steps may vary depending on the DNS provider user interface.
Step 3: Edit OneShip settings
Kindly log in to your OneShip admin panel. Navigate to [Tracking Center]-> [Tracking Setting] -> [Custom domain name] Please click on “Custom domain name” to set up.
Enter your custom domain name then click Confirm. It would take around 24 hours for the changes to take effect. You can provide the URL for customers to check their parcels and also insert it into your online store.

