OneShip devotes to opening up the connection service with major E-Commerce platforms, and currently supports SHOPLINE which is used by 250,000+ brands.
This article shows you how to authorize SHOPLINE 1.0 store with OneShip. Once the authorization is finished, new orders within the past 30 days in your store will be automatically synced to OneShip account under Order Management.
How to Authorize SHOPLINE 1.0 to OneShip
Step 1: Install extension app in your SHOPLINE 1.0 admin panel
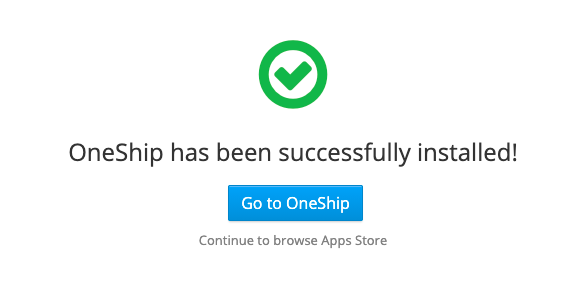
Log in to your SHOPLINE store panel, go to Apps > Apps Store > “OneShip: all-in-one shipping solution” > Click “Install Now”.
Step 2: Log in to OneShip
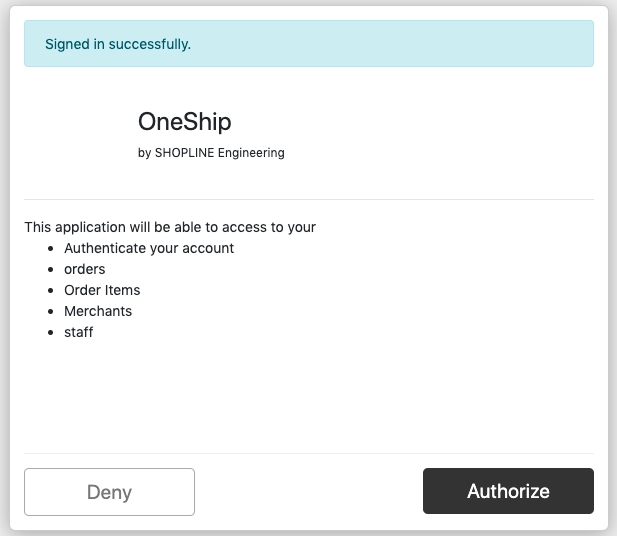
After installed, click “Setting” to jump to log in OneShip, then the authorization will be finished. Please make sure your OneShip account is available.
Note: Only one OneShip account can be authorized per each SHOPLINE store, while multiple SHOPLINE stores can be authorized to one OneShip account.
Step 3: Create a delivery option for OneShip in your SHOPLINE 1.0 admin panel
Step 1: Settings
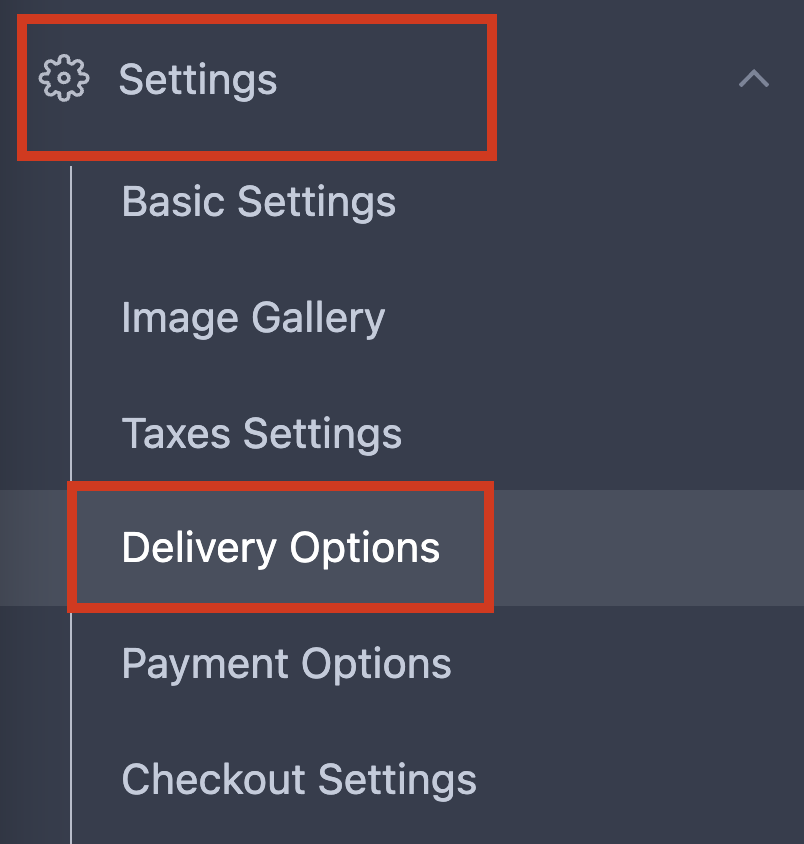
In the SHOPLINE admin panel, go to [Settings] > [Delivery Options].
Step 2: Add the new option
Click Add to set up the first delivery option.
Step 3: Set up a Custom option
Choose the Custom in the dropdown list.
Step 4: Adjust the fee
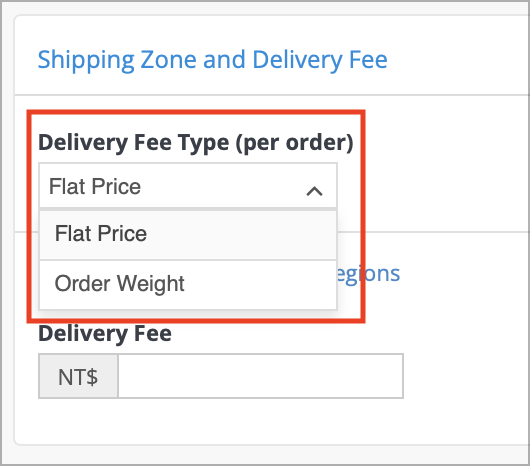
You can adjust the delivery fee type for this delivery option. For detailed information please refer to SHOPLINE FAQ: Delivery by Weight.
Step 5: Choose the delivery area
Click Select Shipping Countries / Regions to set the shipping region for the option.
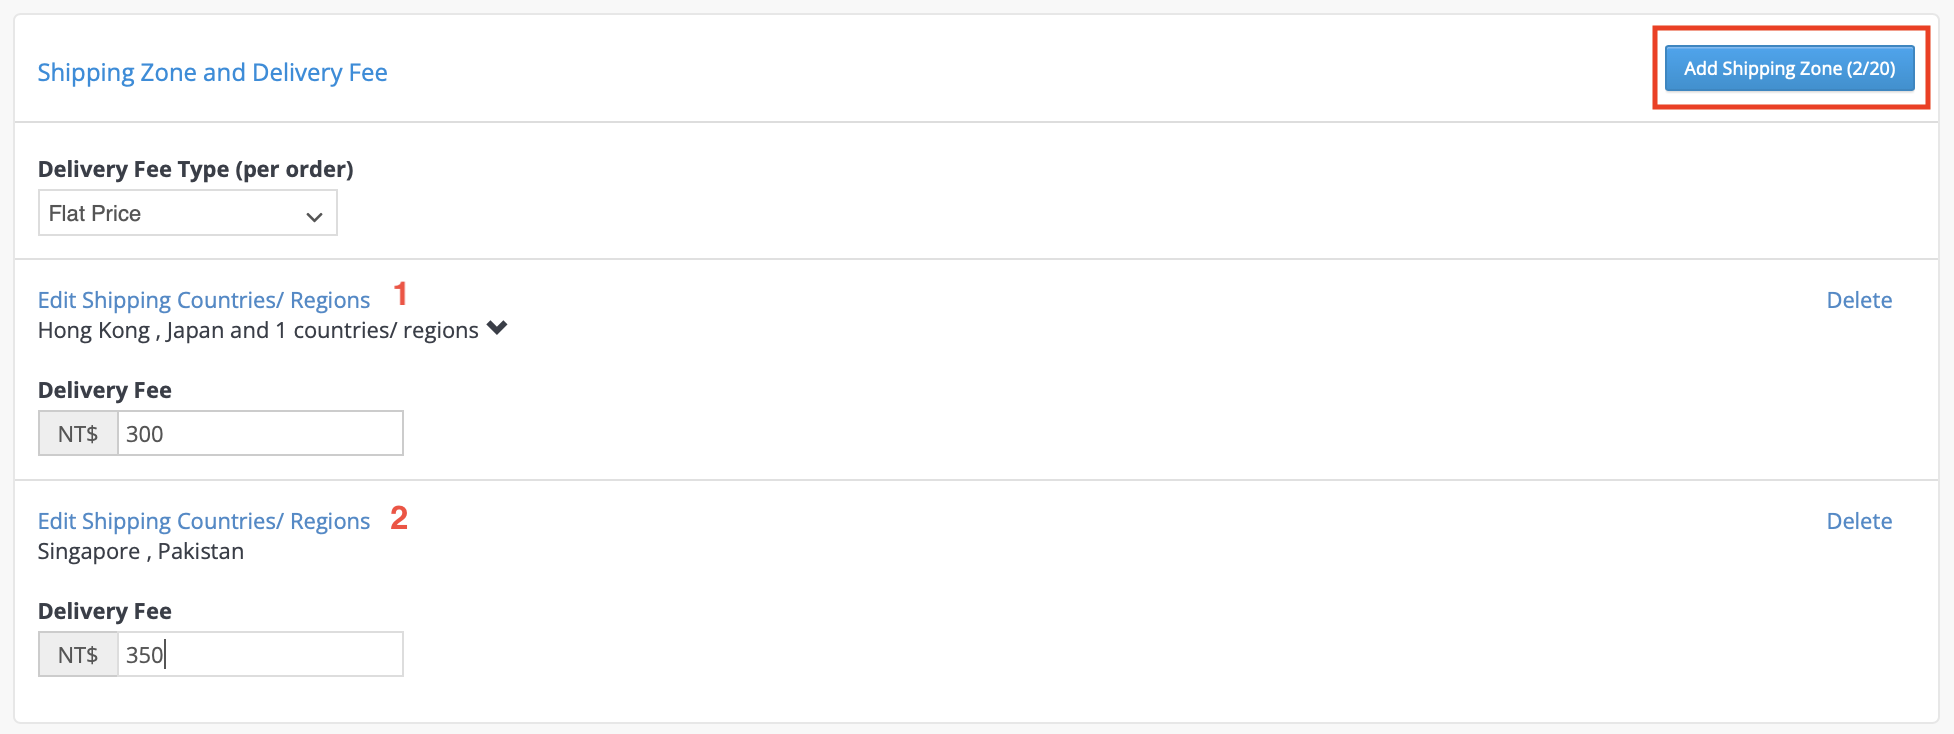
To separate the delivery fee for shipping to different zones, click Add Shopping Zone to add shipping countries/regions. For detailed information please refer to SHOPLINE FAQ: Delivery Fee Settings.
Note: Don’t forget to click Add to save the changes.
For detailed setup steps, please kindly refer to SHOPLINE FAQ: Setting Up Delivery Options

